Bath Remodel Pictures
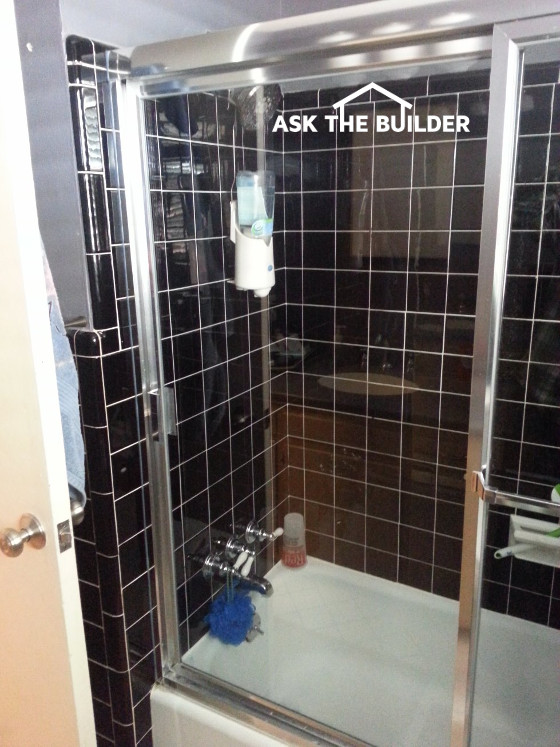
The before view of the shower. Copyright 2017 Tim Carter
Bath Remodel Pictures
Matt works for Ranger Roofing, a roofing company in Oklahoma. Someone hired his company to complete a bathroom remodeling project. I'm not quite sure how a roofing company got into bath remodeling, but you can be the judge if they should get back up in the hot sun or stay inside!
Free & Fast Bids
CLICK HERE to get FREE & FAST BIDS from local bathroom remodeling contractors.
Below is Matt's story, in his own words. Matt submitted the photos, but he transferred the copyright ownership to me by asking me to publish his story.
"We were tasked with renovating this bathroom and decided to write a bit about it in case you want to do the same.
Remove Old Tub
Starting from the bathtub, we placed a waterproof layer beneath, to prevent any leaks. After making sure it was waterproof, we proceeded to put the tub and started securing it and making sure it was in place.
Silicone and Mold
Later we waterproofed the edges with silicone to prevent the leakage of water beneath; this could cause mold and the structure of the house to become compromised, which we obviously want to avoid.
Test For Leaks
After we tested everything and made sure it's waterproof we installed the faucet and set up the drainage system.
CLICK HERE to get FREE & FAST BIDS from local bathroom remodeling contractors.
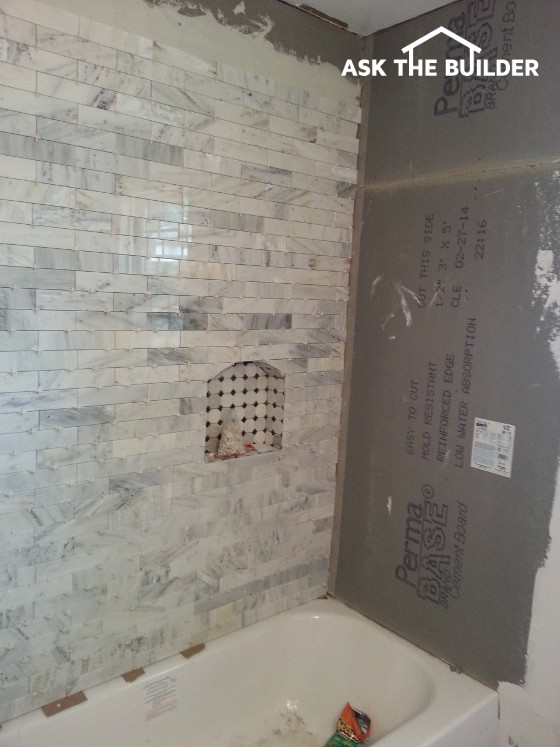
Tile going up. They made a HUGE mistake not protecting the tub with tarps during the install. A dropped tile can CHIP the tub. #FAIL Remember, this job is being done by Ranger Roofing, not me Tim Carter. Copyright 2017 Tim Carter
Trouble Time!
For the shower, we had a bit more trouble, after making sure all of the installations are working we started by leveling the floor. After leveling it we placed a waterproof layer and started layering tiles, we filled the space between the tiles with waterproof silicon made for showers.
Silicone Curing
We left the silicone to dry while we installed the faucet and the shower head, making sure everything is waterproof. A small leak could mean you have to go under the tiles and dig up the whole thing. In these critical steps, it's better to triple check than to have a mistake force you to dig up everything and start over."
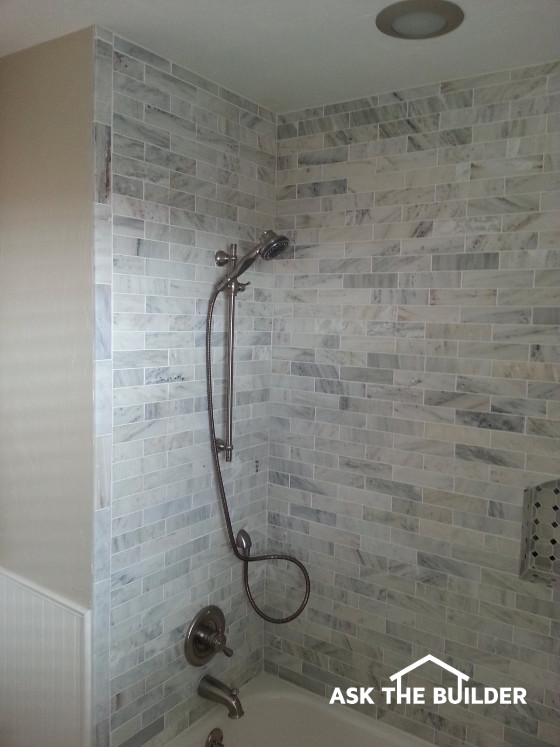
After - the finished shower. It's hard in photos like this to see extreme detail. We have no real idea how well the tile joints are and if everything is excellent workmanship. Copyright 2017 Tim Carter
CLICK HERE to get FREE & FAST BIDS from local bathroom remodeling contractors.
Thanks for sharing Matt.