How to Install a New Laminate Floor in Hours
Quick Column Summary:
- How to install laminate flooring
- Make sure subfloor is flat
- Cut laminate slowly
- Stagger seams of flooring
DEAR TIM: My husband wants to create a man cave for himself and I have my eyes on a corner of our basement for a craft room. I’m not a fan of harsh concrete floors and want to install laminate flooring. I’ve got very little experience with all things home improvement. I can use a circular saw and my husband has a miter box saw. Do you feel I can do this job? My husband travels on business and I want to surprise him. Can you help me with this project? Jennifer P., Hayward, CA
DEAR JENNIFER: Oh how I love to get emails and questions like yours! The two reasons are I love surprises and I long to empower anyone so they can accomplish a task they feel is outside the boundaries of their comfort zone. My motto is Do It Right, Not Over! and you and I together are going to get those two floors installed before his plane’s wheels touch down on the tarmac!
I’m hoping he’s away for a few days because you might need that amount of time if you have to get the subfloor flat in the two rooms. If the floors are flat now, you could have a the laminate floor installed in one of the small rooms in just a few hours. Isn’t that exciting?

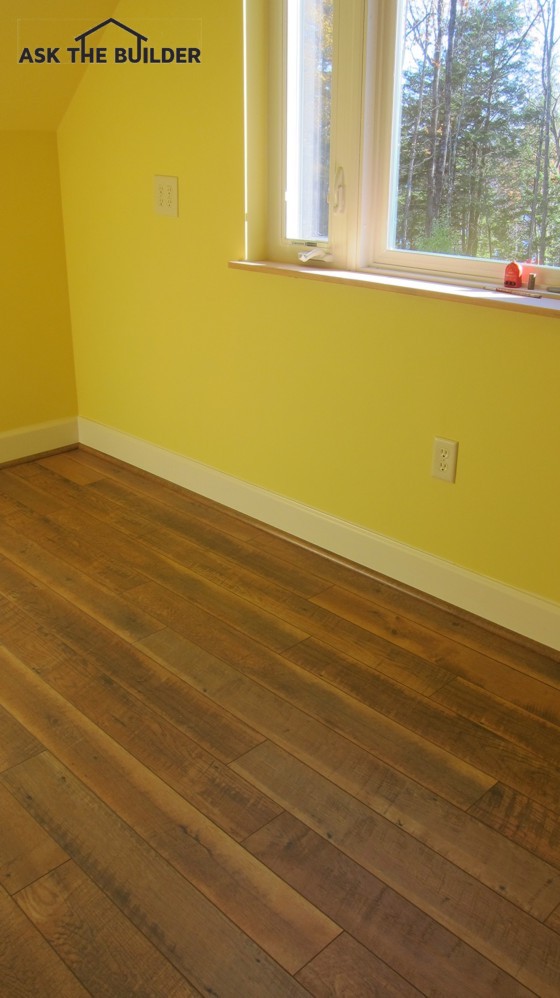
This man cave floor was installed start to finish in a few hours. Photo Credit: Tim Carter
Let’s back up a moment and talk about laminate flooring. I remember when this building product hit the market at least fifteen years ago. It made a huge splash. But as with some building products, it hadn’t, in my opinion, been perfected. There were some issues with fit, finish and durability.
The manufacturers responded and some of the laminate flooring that’s available today is a superior flooring product. The look of some is so realistic you could fool a few apprentice carpenters into thinking your floor is a solid wood floor.
Advancements in engineering and manufacturing allow you to assemble the products with ease. The tolerances are very tight which allows you to put pieces together without fussing with special tools to get a remarkable appearance.
The biggest mistake rookie installers make is not paying attention to the requirement that the subfloor be flat and in the same plane. Flat doesn’t mean level. Flat means the surface of the subfloor has no humps or low spots. If it so happens your floor is both flat and level, that’s the best of all situations.
You can check your subfloor for flatness with a 4 or 6-foot straightedge or level. It’s best for the room to be somewhat dark. Put a flashlight on the floor at a low angle aiming towards the level or straightedge. You’ll readily see light under the tool if there’s a low spot. Mark out where all the low spots are.
Perhaps the easiest way for a rookie, like yourself, to get a flat subfloor is to use the modern self-leveling compounds. These are powders you mix with water and then pour onto the subfloor. I highly recommend doing an experiment first in a small area so you see how to work with these products. Some products can be very temperamental with respect to the amount of water added to the mix.
Most laminate flooring requires a foam underlayment. Don’t skip this step. The material is easy to install. Just roll out one strip at a time. Don’t try to cover the entire room at once.
The laminate flooring has special male and female edges on the four sides of the material. Each piece interlocks with the ones around it. For these connections to last the test of time, the subfloor needs to be flat. If there are hollow spots under the laminate flooring, it will flex when walked on. This will make noise and over time the connections between the pieces of flooring will fail.
Understand laminate flooring is a floating floor in almost all cases. This means you don’t glue or nail the pieces to the subfloor. The combined weight of the floor, once installed, ensures it stays put. The small gap that you must create around the edges of the flooring is very important. Don’t skip this step.
If you use a circular saw to cut the flooring, be sure the flooring is upside down when you make the cut. This prevents chipping of the material.
When using the miter saw to make cuts, just lower the blade slowly into the material to prevent chipping. You’ll discover the leftover piece from one row can almost always be use as the starter piece in the next row. Usually there’s very little waste with laminate flooring.
Don’t forget to stagger the seams randomly if you’re trying to achieve the look of a traditional hardwood floor. Read the instructions on the boxes and follow them to the letter. If you want to watch an informative three-part series of me installing a laminate floor go to:
How to Install Laminate Flooring
Column 1027
One Response to How to Install a New Laminate Floor in Hours