Custom-Made Bookcase
David Kirby shares his story of a bookcase for his granddaughter. His project had to be built in one location and transported to the granddaughter's house for installation. Besides fitting into the opening, David had to route a floor vent and electrical outlet through the unit. Here's his story.
"Dear Tim,
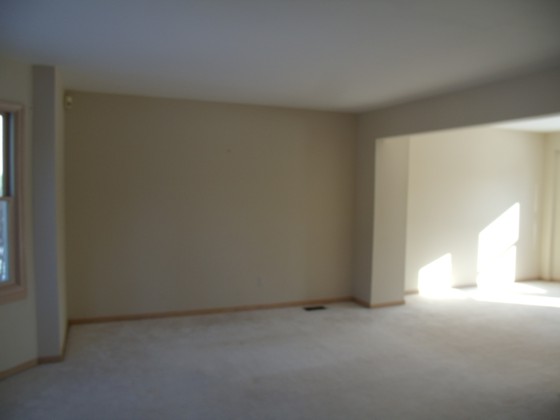
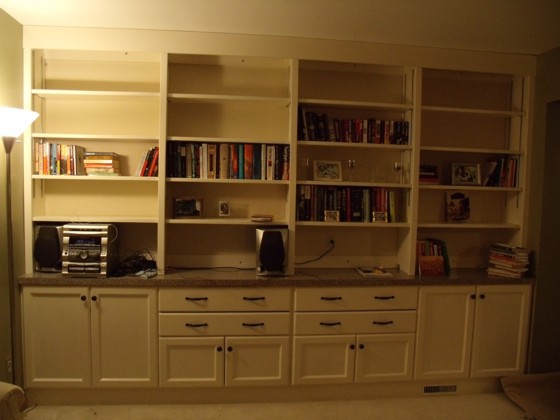
My granddaughter wanted a wall-covering bookcase for her new house (similar to the one I had made for her mother years ago) in her living room. The biggest problem was that the wall area was like an alcove, almost 12 feet long, and the unit needed to fit flush to the side walls. Not a big problem if built on site, but that house is 80 miles away. I needed to build it at home where I have the proper tools and transport it there. A single unit 12 feet by 8 feet by whatever depth was deemed undoable - at least - untransportable. So it was built in six sections: a 2x4 base, two lower cabinets, a one-piece top, and two upper shelf units. A floor register needed to be redirected through the base, a wall outlet needed to be relocated above the cabinet top, a security motion detector needed to be relocated, and the carpet and base trim needed to be cut back and reinstalled against the base when it was in place before the cabinets and shelving could be installed.
The cabinets and shelving units were constructed of 11/32" Baltic plywood (seems 3/4" ply isn't very available). All visible plywood edges of the cabinets and horizontal shelves were faced with poplar strips. The shelving uprights were faced with 1x2 poplar strips, dadoed with an 11/32" router bit bought for the occasion. At the center where the two shelving units met, the plywood uprights were 3/8" thick, and only the right-hand unit was attached to the facing strip. The dado was made wide enough to accept the left-hand end upright, and the result looks like continuous construction. The cabinet top was covered with Formica in a pattern that my granddaughter chose.
The cabinet doors are poplar frames, corners mitered and biscuited, all edges mitered 45 degrees, and 1/4" plywood inset in the back. Euro hinges with 3/8 overlay were installed. The cabinets have a middle shelf, and are sized to hold vinyl records in dust jackets. The drawers have full-extension glides and have compartments sized for (lots!) of CDs and DVDs. Everything was finished with sanded primer and two coats of eggshell acrylic latex paint to match the room trim.
Everything made a full 4'x8' utility trailer load, and made the trip well. The installation went better that feared - everything fit snug and tight. The trim board across the top of the shelving is not the final piece: my granddaughter wants crown molding for the room, which of course had to wait until the bookcase was in place. But that's not the last thing for her house, and may not even be the next! My wife says that she is next on a remodel of the master bathroom. (I've taken a before picture.)
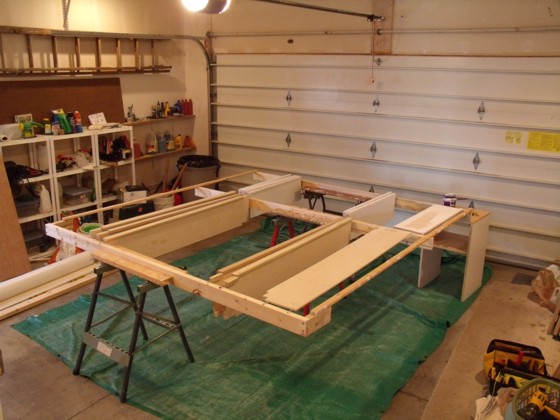
I've included a picture of the set-up for painting panels, pretty self-explanatory. One other tip I'd like to pass on: an applicator/container for gluing. Through the years I've bought and tried many different applicators for board edges and biscuit slots and such, but the best I've ever found is the 11-ounce container for dishwashing liquid from a dollar store. The hole size in the cap lays down a perfect line of glue for edges and slots and the snap cover works - doesn't stick and is easy to clean. Best of all - the dishwashing liquid is not wasted - I keep a larger bottle in the set tub with a dilute solution of the liquid for easy clean up, and all for one buck.
Thanks for the web site. Your column in our local paper is one of the main reasons I keep the subscription." - David Kirby
| If you want to submit pictures and the story behind your project, CLICK HERE to go to the Before & After Submission Page. |


