Crawl Space DIY Vapor Barrier
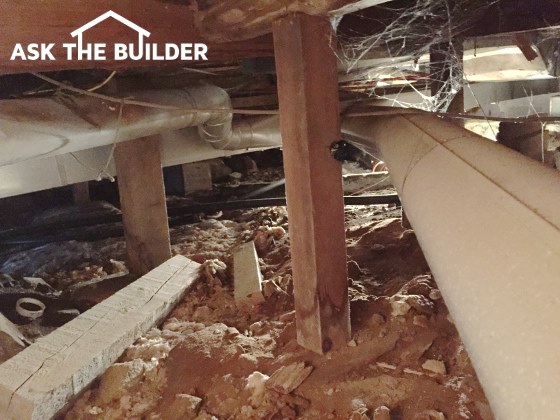
This is a pretty normal creepy crawl space. Invisible water vapor rises from the soil like smoke from a campfire. (C) Copyright 2017 Tim Carter
Crawl Space DIY Vapor Barrier TIPS
- Clear clutter and smooth dirt
- Fill holes in foundation to stop air and water
- WATCH vapor barrier video below
- Use cross-laminated vapor barrier material
- CLICK HERE to Get Tim's FREE & FUNNY Newsletter!
DEAR TIM: The crawl space under my 1910 home is just exposed dirt and leftover building materials. I need to add a vapor barrier and wonder about the best one.
The foundation consists of granite slabs and rubble stone. It’s got small gaps in it where I see daylight.
How would you go about converting this creepy place into one that’s an asset instead of a liability? Any and all tips, suggestions and warnings are welcome. Suzanna S., South Bristol, ME
DEAR SUZANNA: I’ve been in quite a few creepy crawl spaces such as yours. It’s always an adventure.
Tight Spaces
I can get a little anxious much like the character Danny the tunnel digger in the classic movie The Great Escape if the distance between the dirt and floor joists is less than 20 inches.
Big Payoff
The job you’re about to undertake is going to yield big rewards if you add one more facet to it. I’d add insulation to the underside of the floor as part of the scope of work, but we’ll talk about that in a little bit.
Free & Fast Bids
CLICK HERE to get FREE & FAST BIDS from local insulation contractors that can do vapor barriers.
Clear Clutter First
If I was helping you do this job, I’d suggest the first thing we do is get rid of all the old building materials and any scrap who-knows-what that’s in the grotto. Be sure to wear goggles, not safety glasses, while doing this.
I’d also suggest you don the best face mask you can afford to block the smallest particles of anything from getting into your lungs. People have contracted serious lung infections from inhaling bad things that get airborne as you start to move things around and disturb dust as you work.
Remove & Level Dirt
The second step would be to try to remove any high spots of loose dirt and do anything that’s possible within reason to increase the amount of distance between the dirt and the floor joists. It’s ideal to have about 30 inches of space, but that may be a vast undertaking to remove that much dirt.
At the very least, you want to get rid of any sharp rocks or anything that would puncture the vapor barrier you’ll be installing. The flatter the ground is, the easier it’s going to be to install the vapor barrier and tape the seams.
Tuck Point Foundation
After you have the dirt prepared, then it’s time to fill in all the open spaces between the granite and rubble stone. It’s going to be easier to do this outdoor than on your belly or back in the crawl space. But I’d recommend you try to fill from both sides.
I’d mix up a rich mixture of fine sand and hydrated lime for this job. Hydrated lime is easy to get online. CLICK the bag just below.
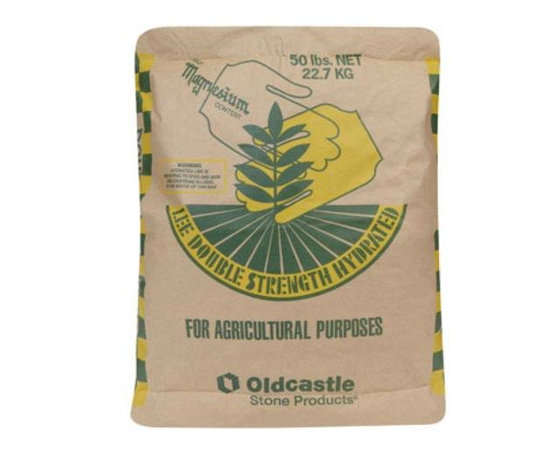
This is great hydrated lime. It's label for use on farms, but believe me it's GREAT to use for brick, stone mortars and whitewash. CLICK THE PHOTO OF THE BAG NOW TO HAVE THIS DELIVERED TO YOUR HOME IN DAYS. http://amzn.to/2FJJlOY
1:1 or 2:1
I’d blend one part sand to one part lime for the inside mixture and fill the voids using a mortar bag that’s similar to what bakers use to decorate cakes. The mortar mixture needs to be very rich, smooth and wet to flow through the bag and not clog the tip.
The outside mix can be two parts sand to one part hydrated lime. Just use a pointing trowel or whatever tool you can manage without smearing the mortar on the stone. It’s very important to fill all the gaps because I don’t want any rain-driven water to get on top of or under the vapor barrier.
Best Vapor Barrier
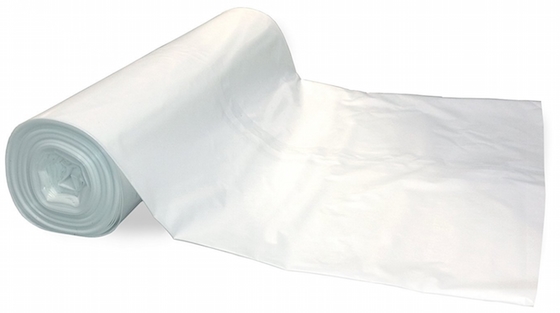
It’s now time to put in the vapor barrier. You’ve got lots of choices. Often people select standard 6-mil clear plastic you see at the big box stores. It will work, but it’s not the best product.
I’d go with a cross-laminated vapor barrier that’s often specified for commercial and institutional work. Find one that meets or exceeds the ASTM E 1745 standard. These allow very little amounts of water vapor to transfer through the membrane.
CLICK HERE to get FREE & FAST BIDS from local insulation contractors that can do vapor barriers.
Purchase a vapor barrier that has its own special tape that bonds to the plastic so all the seams are sealed. Don’t count on cheap duct tape to stand the test of time. You want to lap the vapor barrier up the foundation walls and attach it to the wood sill plate the floor joists rest upon. Use long pieces of thin wood lath to secure the vapor barrier to the sill plate.
Wrap The Posts
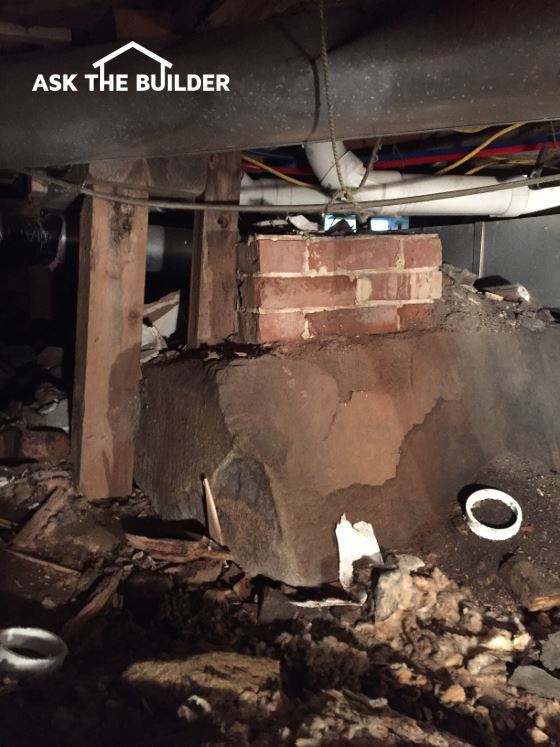
You’ll have to get creative around any vertical wood posts or masonry columns. It won’t take you long to figure out how to add pieces of the vapor barrier that run up the vertical structural members and then lap down onto the flat vapor barrier that’s on the dirt. Just tape all overlaps well so no vapor can escape into the crawl space.
Wrapping Posts Video
Watch this video to see how to wrap posts and piers in a crawlspace.
Add Insulation
Once the vapor barrier is in place you can then add insulation in between the floor joists. Avoid the temptation to use an expanding foam. One of my website visitors had a company do this and the expanding foam detached all the ductwork from the floor joists causing a disaster.
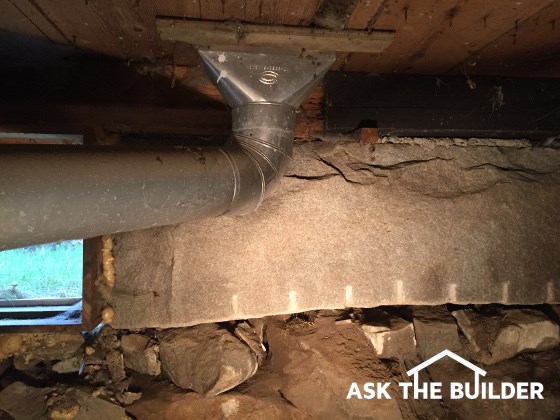
I’d just stick with time-tested un-faced fiberglass batts. I’d put in at least 6 inches and if you can afford 9 inches you should do that because of your extended harsh winters. Your feet and checkbook will appreciate it. Not only will your floor be much warmer, you’ll use less heating fuel on those frigid nights.
CLICK HERE to get FREE & FAST BIDS from local insulation contractors that can do vapor barriers.
Column 1211
3 Responses to Crawl Space DIY Vapor Barrier