Concrete Steps Leaking

Concrete Steps Leaking | These concrete steps are leaking where they touch up against the wall. It’s possible to solve the problem, but it’s not easy. This was shared with my readers of the September 27, 2016 AsktheBuilder Newsletter. Copyright 2017 Tim Carter
Concrete Steps Leaking TIPS
- Concrete is not waterproof - common misconception
- Water can enter tiny hairline cracks
- Special concrete epoxy stops water
- WATCH concrete epoxy video below
- CLICK HERE to Get Tim's FREE & FUNNY Newsletter!
DEAR TIM: I live on the upper floor of a converted villa. The access is by a stairway at the side of house.
There's a closed door for garden tools under the stairs. Water is coming in to the garden shed from above and the wall near the stair is damp for about two feet.
The owner below said he has damp internal walls consistent with water getting in from my stairs. I would like to prevent this happening. What can be done to stop the water infiltration, if anything? Isabel H., Glasgow, Scotland UK
DEAR ISABEL: Thanks for reaching out across the ocean for help with your problem. Water, gravity and physics are pretty much the same all around our planet and I’m fairly confident I can help you.
Concrete Is Water Resistant Not Waterproof
I believe the first place to start is to talk about the characteristics of masonry and concrete. Based on the enormous volume of email I receive from both homeowners and builders, I’ve come to believe that many feel that concrete, brick, stone, mortar and other similar materials are waterproof.
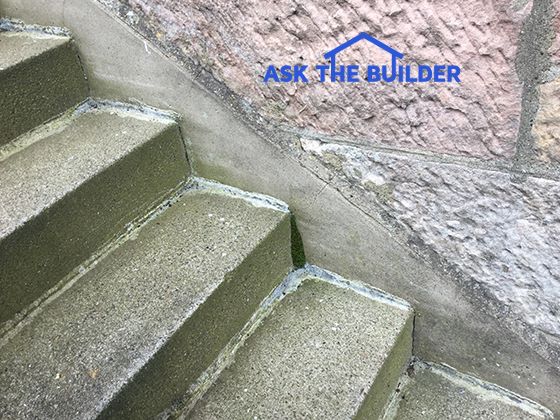
The truth is water can pass through many, if not all these materials, albeit at radically different speeds. It’s child’s play for water to pass through tiny hairline cracks and I see those in the amazing high-resolution photo you sent to me.
Free & Fast Bids
Your Steps Are A Roof
The steps that form the sloped roof for your garden shed are poured against the poured concrete foundation of the villa. This is a very common practice as it would be prohibitively expensive to cast the steps as part of the poured foundation. It’s possible to do this, but not practical.
Driving Rain Cascade
Think of the dynamics that are happening in a moderate to heavy rain storm that has wind as a component. Gallons of water are hitting the stone walls of the villa and cascading down the walls to the hairline cracks where the steps meet the foundation wall. Wind blowing against the wall and steps adds more energy forcing water into the tiniest of openings or cracks.
Since you can’t stop the rain and wind, you’ll need to do your best to stop the water from entering the cracks. It appears to me that someone has already made an attempt to do this by caulking the cracks on the flat stair treads. However, they did not caulk the cracks at the vertical interface where the stair risers touch the foundation walls.
Remove Old Caulk - Start Over
The repair job doesn’t look good to me and I would seriously consider chipping off the caulk and/or whatever material it is. I’d then clean the foundation wall and steps well using a pressure washer. Yes, this is also going to cause water to enter the garden shed, but hopefully it will be the last. You need the surfaces clean so the repair material bonds tenaciously.
Open Up Joint
I’d be very tempted to carefully chisel along the joint between the steps and foundation to open up the gap to at least 3mm or about 1/8 inch. This crack should be about 6 mm or 1/4-inch deep. Be sure to remove all loose material and dust. I’d then caulk it with a concrete epoxy that’s extremely strong and waterproof.
Concrete Epoxy Repair
I’ve used an epoxy with amazing results that’s made by a company called PC Products and it’s available on Amazon.com. CLICK HERE NOW to see and BUY this product.

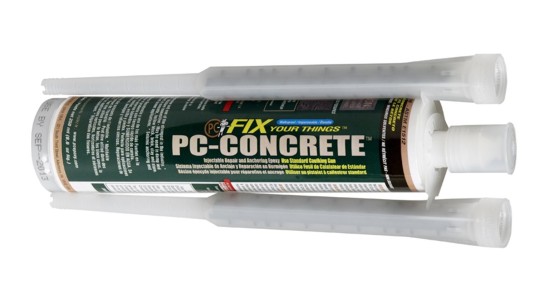
This is the magic epoxy that fits into a regular caulk gun. I've used it with great success. CLICK THE PHOTO NOW TO HAVE IT DELIVERED TO YOUR HOME.
This epoxy comes many ways, but I prefer for jobs like this to use the caulk tube dispenser that automagically mixes the A and B components.

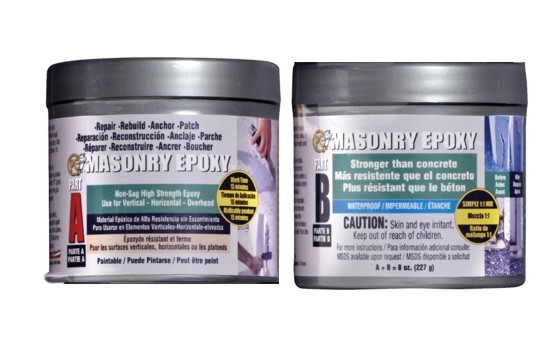
Here's the same epoxy but it comes in little jars in case you want to mix it and apply it with a putty knife. CLICK THE PHOTO NOW TO HAVE THIS EPOXY DELIVERED TO YOUR HOME.
Do A Test Application
Before you start to do this repair, I want you to do a test with the epoxy on some small concrete brick that you can buy. Place one against the other so one is taller recreating the relationship you have between the stair tread and foundation wall. The purpose of the test is to refine your caulking skills and to make the caulk match the existing concrete.
Concrete Epoxy Caulk Repair Video
Watch this video to see how to use the concrete epoxy products. Very clever stuff!
Study Sand Color And Size
It’s imperative you study the concrete steps and take a close-up photo. You need to look at the size, color and makeup of the exposed sand grains in the concrete. Your job is to visit a local gravel and sand supplier to find similar, if not exact, sand. When you look at the sand, and I can see it in the photo, you’ll notice black, orange, brown, white and other grains!
Pat Sand Into Fresh Epoxy
You’ll use this sand to hide the stark gray epoxy. The epoxy I prefer comes out somewhat wet and fresh sand will stick to it with no issues. You carefully apply a bead of epoxy and then cover it immediately and completely with the sand. Be careful not to tamp the sand into the epoxy because you could smear it.
Allow the epoxy to harden, this usually takes a few hours, and then sweep off the excess sand from your test bricks. See how it looks and hold it next to the existing steps. You may have to do several attempts to get the exact look and texture you want.
Apply Silane / Siloxane Water Repellent
Once you have all the cracks repaired where water is entering, then you need to apply a top quality silane / siloxane clear water repellent on the concrete steps, landing, foundation wall and the masonry walls of the villa above the garden shed.

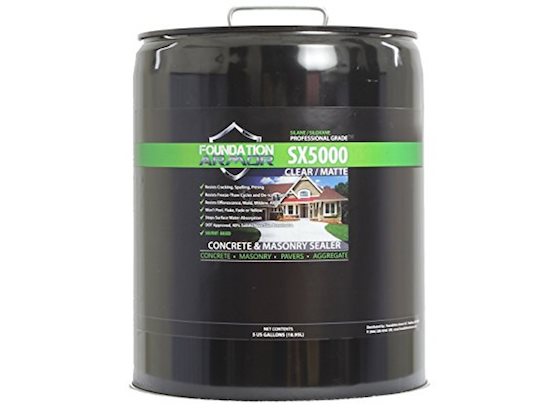
This is a magnificent silane - siloxane water repellent that soaks into concrete. CLICK THIS IMAGE NOW TO ORDER IT.
This final step will really help stop water from rusting your shovels, rakes, hand tools and whatever else is is the storage area. Good luck to you and please report back your results.
Column 1163

7 Responses to Concrete Steps Leaking