Old Brick Patio Ideas – My Mother-in-Law Patio
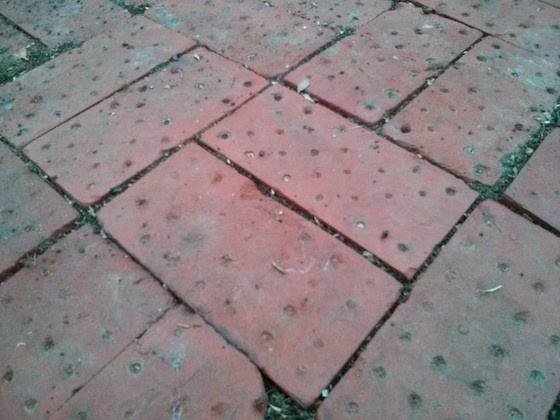
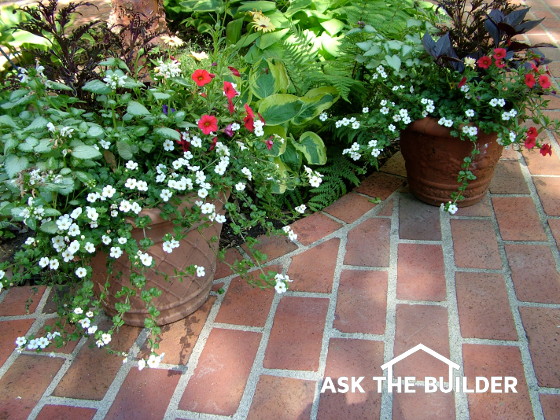
Old Brick Patio Ideas | This is a close-up shot of the actual solid clay red paving brick I used on my mother-in-law's patio. Note how the width of two of the brick equals the length of one brick. This relationship allows you to create all sorts of interesting patterns. She wanted this cross-hatched pattern. Copyright 2022 Tim Carter
Old Brick Patio Ideas - Copy What I Did
The best old brick patio ideas are ones that come from your mother-in-law. At least that's what I discovered! She told me to use solid red clay paving brick for starters. Whatever you do, don't fall for the pigmented precast concrete brick that has a thin coat of red cement paste. This paste contains red dry-shake concrete pigment and wears off with normal wear and pressure washing. Look at these concrete paving bricks that were ruined by pressure washing. See the small stones that aren't red?
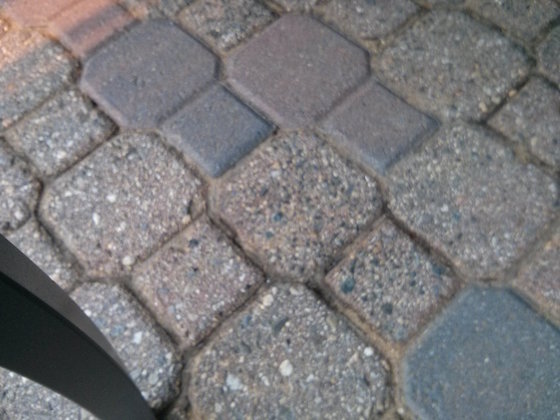
Here's a great example of faded concrete paving brick next to brand new ones that have not yet lost the colored cement paste off the sand and gravel. Copyright 2022 Tim Carter
How Many Ways Can You Install Paving Brick?
The Brick Industry Association will tell you that there are four installation methods available to you. In reality, there are only two that would ever be used by 99.999 percent of homeowners in America. The two that are used are the flexible base and the rigid base.
The Flexible Base System
The flexible base system is a combination of crushed rock, maybe gravel and coarse sand. Guess what? You can only use mortarless brick with this system. Mortarless interlocking brick are what you see in the photo just above. They're almost always made from concrete.
Oooops! I used thin, 1.5-inches thick, brick in my failed 1978 experiment with my inadequate (no crushed rock!) flexible base. This brick was meant to be installed with mortar, but I was so young, I didn't realize this at the time.
The rigid base system used with paving brick employs a concrete slab beneath the paving brick. This slab can be a steel reinforced slab or one with no steel. I prefer a steel reinforced slab. Both types of brick can be used on a rigid base. Do you see why you have to make up your mind before getting out the shovels?
What is the Best Way to Install a Brick Patio?
The best way to install a brick patio is to follow my detailed step-by-step instructions. You can find them in this amazing download PDF product:
This is the cover page for my detailed step-by-step instructions. You can get professional results but not spend thousands of dollars. The PDF contains photos, illustrations, video links, best-tools links, step-by-step instructions, and lots of secret tips.
The following is a very high-level description of what you need to do. I share HOW to DO IT in this amazing PDF file.
To begin your patio you must know where you are going to finish. Does that make sense? What I mean is that you need to establish a finish height and then work backwards. This allows you to establish the top of the dirt upon which you will place the first wheelbarrow of crushed rock or concrete.
A flexible base system requires a minimum of four inches of crushed rock as a base material. However, you can skip this step if you simply blend coarse sand with Portland cement. I share time-tested sand/cement system in my download PDF file. I built my first patio using this method and it looked superb 45 years later. Look for yourself:
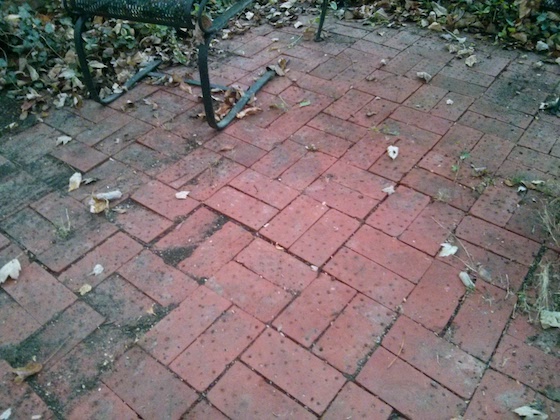
This is the patio I built for my mother-in-law! Yes, it's just a small section. This photo was taken 45 years after I installed the brick. It still was in excellent condition except for the light coat of algae. The algae can be cleaned using certified organic Stain Solver oxygen bleach.
Some interlocking brick manufacturers may suggest six inches of gravel. Once this is in place, you need to smooth it and compact it. Compaction is best achieved using a mechanical plate-type vibratory compactor. It operates much like a walk-behind lawn mower. The only difference is that you sshaakkkke a lot while operating it!
Once the gravel base is in place, you top it with 1 1/2 inches of coarse sand. The sand is not compacted just yet. You smooth it off to the exact profile and the slope you wish the final patio to be. Once this is complete, you simply set the concrete bricks onto the sand. The interlocking bricks just mesh together. Undoubtedly you will have to make cuts where the bricks round corners or intersect border bricks. Saws, cutters, and chisels will accomplish all cutting tasks.
Now that we have gotten this far we can see how much dirt we had to dig. Let's see, we had six inches of gravel, 1 1/2 inches of sand and a brick that is 2 3/8 inch. That adds up to just about 10 inches! That's a lot of digging.
How Can I Dig Less Dirt?
So you don't like to dig? Well, maybe the rigid base system is the way to go for you. It requires 20 percent less digging if you use the standard clay paving brick. However, the placement of the concrete, brick and mortar between the brick requires more labor and skill.
To further complicate things, the look is often different. Using a clay paving brick with a rigid base, you can create a patio that has the look of a brick wall. You actually have mortar joints between each brick. The mortar can be colored or standard gray. The choice can be complicated, no doubt!
The Rigid Base System
This system is what I have used. My current house has thousands of clay paving bricks laid in a thin (1/2 inch) layer of Portland cement mortar. A 1/2 inch mortar joint is between each brick as well. The look is stunning. The deep tones of red clay brick match my country Victorian home quite well. Of course, Kathy picked the colors. I can't match socks much less house colors.
This is the rigid-base system. This patio was built with traditional clay brick pavers. They could have been set in sand, but laying them in mortar on top of 5 inches of steel-reinforced concrete creates a traditional look and feel. You can get detailed step-by-step instructions here sharing exactly how I built the above patio! PHOTO CREDIT: Tim Carter Copyright 2022
To begin my rigid base system I installed a four-inch-thick steel-reinforced concrete slab. I installed the concrete on top of two inches of pea gravel. This gravel allows water to escape from beneath the slab. Water under concrete in the wintertime can cause serious frost heaving! The gravel is not always necessary. If you use it, you need to make sure you connect a drain pipe to the gravel so any water drains by gravity to a low spot on your property.
The concrete was poured at 4,000 PSI which allows it to resist damage from cold Cincinnati winters. The 1/2 inch steel bars are placed on two-foot centers in both directions. The steel is placed above the dirt so that it ends up right in the middle of the concrete slab.
Once again, you need to figure out your total system thickness to determine how deep you must dig. In my case, I needed to excavate eight inches of soil. Don't forget to slope your patio! Make sure that water drains away from your house. A slight slope of 1/8 inch every foot is undetectable as you walk across the patio.
Column B409
One Response to Old Brick Patio Ideas – My Mother-in-Law Patio