4 Way Switch Quick Start Guide
DEGREE OF DIFFICULTY: 
To work with 4 way switches, you have to fully understand 3 Way Switches. Be sure you review my 3 Way Switch Quick Start Guide!
I’ve rated this project three hammers out of five because you do need to have a good understanding of how all the switches in this setup work.

Realize a 4-way switch can ONLY work in between two 3-way switches. That’s mission critical. You can have any number of 4-way switches in the circuit, but they all must be between the 3-way switches.
Watch the video below unless you’ve come here from YouTube having already watched it.
Be sure to look at the RELATED CONTENT links at the bottom of this page. Lots of goodies there for you.
REQUIRED TOOLS & MATERIALS:
TIPS
- Turn ON Light in Room or Hallway
- Have helper turn off circuit breaker so you see light bulb go OUT or OFF.
- Remove light switch cover plate.
- Unscrew light switch from electrical box and pull it out of box - Do NOT touch screws on side of switch!
- Double check power is OFF using voltage meter.
- Suck out dust and debris from inside of electric box with wet-dry vacuum.
- Check insulation on all wires. Look for cracks, splits or melted insulation. Tape defective wires with electrical tape OR call in a professional electrician for help.
- DO NOT SKIP FOLLOWING STEPS if working on an existing set of switches that work perfectly. If switches are NOT working correctly at this time, follow SAME advice below:
- Use painter’s tape to make numbered tags for each wire connected to existing switch. Mark wires as #1, #2, #3 and #4. Each 4-way switch has four wires connecting to it.
- Use permanent Sharpie marker to make numbers on face of switch that correspond with the tagged wires. This allows you to reinstall wires on same screws!
- Tape quick video using smart phone or take photos of switches BEFORE you remove wires. Video and photos may come in handy!
- If current 4-way switch is NOT working properly, numbering the wires ensures you don’t reconnect them to the same screws preventing Victory!
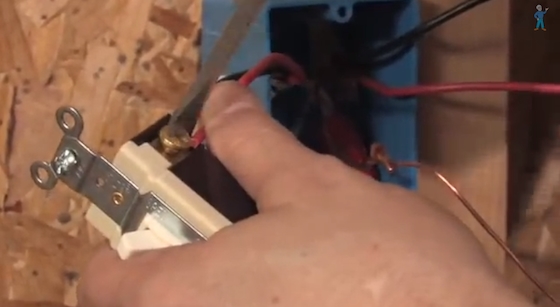
- Remove wires from old switch and install new switch.
- Only 5/8 inch or 15mm of bare wire should be exposed. Trim wire or remove more insulation to get to this point.
- Facing the screw, the wire loop should be bent in a clockwise direction so as the screw is tightened the screw movement closes the end of the wire around the screw. If you make the loop counter-clockwise, the loop will OPEN up as you tighten the screw on the switch body.
- Optional: Install a band of electrical tape over body of switch isolating screw heads.
- Reinstall switch into electric box keeping ground and neutral wires away from screws on sides of switch.
- Reinstall cover plate.
- Turn on circuit breaker and test new switch.
- Celebrate your Victory!
Please subscribe to my Newsletter and get insider information on the latest home-improvement tips, and products. I guarantee you that my newsletter WILL save you time and money. Frequently, I include your questions with my answers and proposed solutions. Perhaps the best part of the newsletters are my reviews of new products based on my own testing. Click here to read my past newsletters.
It is FREE & EASY.
RELATED HELPFUL CONTENT:
- Wiring 3 and 4-Way Switches
- 4-Way Switch
- 3-Way & 4-Way Wiring Diagram
- Fixing 3-Way & 4-Way Switch Wiring Problems
- 3-Way Switch Video
Column QSG008


